Did you know pottery making started around 9000 BC? Ancient civilizations made both useful and beautiful pieces. These works inspire artists today. As a beginner, learning the basics of clay sculpting can be both thrilling and daunting. But with patience and practice, anyone can get the hang of it.
To start, you need to know about the types of clay, tools, and techniques in pottery instruction. By grasping the basics, you can make stunning and useful items that show off your creativity.
Key Takeaways
- Understand the different types of clay and their uses
- Learn the essential tools and techniques for pottery making
- Discover how to create functional and decorative pieces
- Develop your skills through practice and patience
- Explore the creative possibilities of clay sculpting
Introduction to Pottery
Pottery is a craft that blends art, history, and function in a special way. It reflects the traditions and beliefs of many cultures. We’ll dive into what pottery is, its history, and its role today.
What is Pottery?
Pottery is making things from clay and ceramics using different methods. You can shape, dry, and fire the clay to make it last. It can be useful items or just for show.
Key pottery techniques include:
- Hand-building: Creating forms without a potter’s wheel.
- Wheel-throwing: Shaping clay on a potter’s wheel.
- Slip casting: Using liquid clay to create replicas.
Brief History of Pottery
Pottery started around 9000 BC in the Middle East. It has grown and changed over time, influenced by many cultures. For example, ancient Greek pottery is famous for its designs, and Chinese porcelain is known for its beauty.
“Pottery is the first human creation that combined art and utility, marking the beginning of a long journey of innovation and creativity.”
Importance of Pottery in Culture
Pottery has been important in many cultures. It’s used for both practical needs and as a way to express art and identity. In some places, pottery is seen as a sacred art, with skills and designs passed down through generations.
For those new to Beginner Pottery Classes, learning the basics is key. Pottery is a fulfilling craft that mixes art, history, and skill. It’s great for making useful items or beautiful decorations.
Essential Pottery Tools
Pottery making is an art that needs precision, patience, and the right tools. Starting your pottery journey means investing in quality tools. These tools will help you bring your creative vision to life.
Must-Have Hand Tools
Hand tools are key for any pottery project. Some essential hand tools include:
- Wire cutters: Used for cutting clay and removing excess material.
- Modeling tools: Essential for shaping and detailing your pottery.
- Ribs: Used to shape and smooth out the clay.
These tools are vital for refining your craft. They help you achieve the shapes and textures you want.
Wheel-Throwing Equipment
For wheel-throwing, the right equipment is essential. Key pieces include:
- Pottery wheel: The centerpiece of wheel-throwing, allowing you to shape clay into symmetrical forms.
- Wheel bat: A removable surface that allows for easy removal of your work.
- Trimming tools: Used to refine the foot of your pots and other details.
Investing in a good quality pottery wheel and equipment will greatly improve your wheel-throwing experience.
Kilns and Firing Accessories
Firing is a critical step in pottery, and the right kiln and accessories are vital. Essential items include:
| Accessory | Description |
|---|---|
| Kiln | A heat-resistant chamber used for firing pottery. |
| Kiln furniture | Shelves and posts used to support your work during firing. |
| Pyrometer | A device used to measure the temperature inside the kiln. |
Understanding your kiln and its accessories is key. It helps you achieve consistent and high-quality firings.
By having these essential pottery tools, you’ll be ready to create beautiful and functional pieces.
Types of Clay
Knowing the different types of clay is key for any pottery project. The clay you pick can change the piece’s durability and look. We’ll look at the various clays, their traits, and uses.
I’ve worked with many clay types, each with its own special qualities and challenges. For more info on clay basics, check out Kiln Arts. It’s a great place to learn about clay.
Stoneware vs. Earthenware
Stoneware and earthenware are top clay picks for pottery. Stoneware clay is strong and lasts long, perfect for items like cups and bowls. It’s fired hot, making it water-resistant and non-porous.
Earthenware clay is more absorbent and fired at a lower heat. It’s great for decorative items and planters. Though not as tough as stoneware, with the right glaze, it can be both beautiful and useful.
| Clay Type | Firing Temperature | Characteristics | Uses |
|---|---|---|---|
| Stoneware | High | Strong, durable, non-porous | Functional pieces, cups, bowls |
| Earthenware | Low to Medium | Porous, decorative | Decorative pieces, planters |
| Porcelain | High | Translucent, delicate, strong | Fine china, decorative figurines |
Porcelain and Its Properties
Porcelain clay is famous for being clear and strong. It’s fired high, making it very durable. It’s often used for fine china and decorative items because of its beauty and strength.
Working with porcelain needs precision and care. It’s tricky to shape and glaze. But, the results are stunning, making pieces both beautiful and lasting.
Specialty Clays for Unique Projects
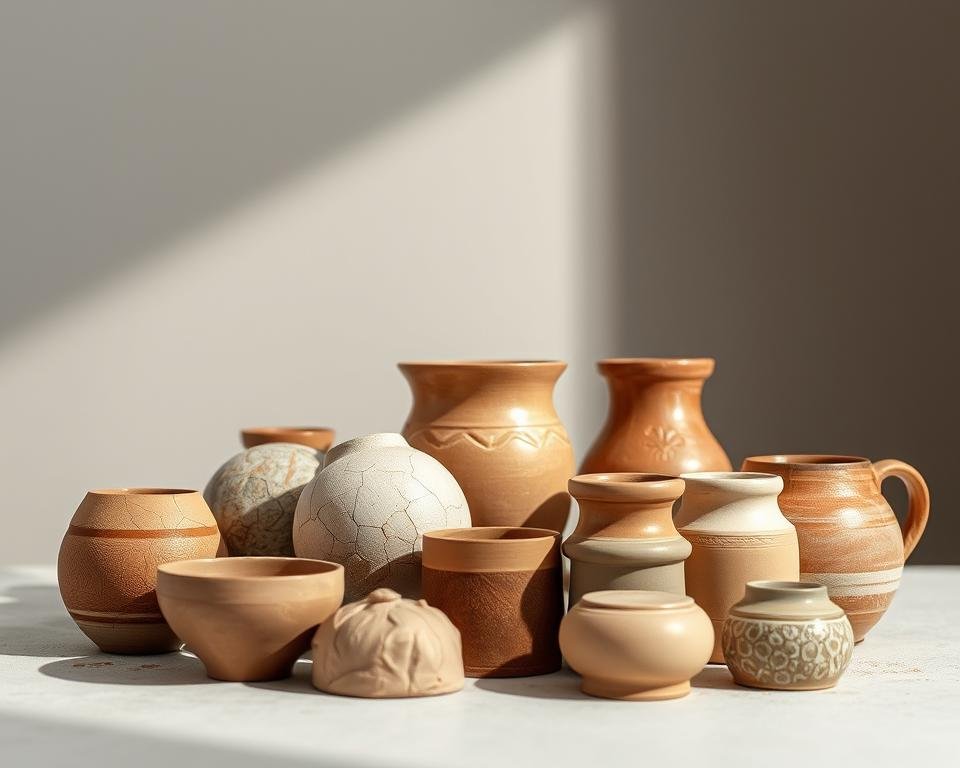
There are special clays for unique projects. These clays have special textures, colors, or firing traits. Trying these clays can lead to creative and new pottery pieces.
When using special clays, knowing their properties is key. This knowledge lets potters make unique and innovative pieces.
Hand-Building Techniques
Learning hand-building techniques is key in pottery making. It opens up a world of creativity. You can make unique, functional pieces that show your style and vision.

Pinch Pots
Pinch pots are easy and fun to make. Start with a small clay ball and shape it with your thumbs. This method is perfect for making small items like cups or bowls.
Tips for Pinch Pots: Make sure your clay is well-wedged to avoid air pockets. Work slowly to get even thickness.
Coil Construction
Coil construction uses clay ropes to build shapes. It’s great for making big, detailed pieces like vases or sculptures.
Key to Successful Coil Construction: Score and slip the coils for a strong bond. Work carefully to keep walls even.
Slab Building Basics
Slab building makes flat clay sheets into shapes. It’s ideal for making geometric or architectural items like boxes or wall hangings.
- Roll out your clay to a consistent thickness.
- Cut and shape your slab to the desired dimensions.
- Use a combination of scoring and slipping to assemble the pieces.
Mastering these techniques lets you grow your pottery skills. You can make many unique pieces. Hand-building is great for both beginners and experienced potters, full of creative possibilities.
Wheel-Throwing Basics
Wheel-throwing is a mix of skill, creativity, and trying new things. As a beginner, knowing the basics is key. This helps you make pieces that are both useful and look good.
Setting Up Your Pottery Wheel
Before you start, make sure your pottery wheel is ready. This means securing the wheel to a stable surface and adjusting the height to a comfortable position. Get to know the wheel’s controls to keep your work smooth.
- Ensure the wheel is on a firm, level surface.
- Adjust the wheel head to the correct height.
- Familiarize yourself with the foot pedal or other controls.
Centering Clay
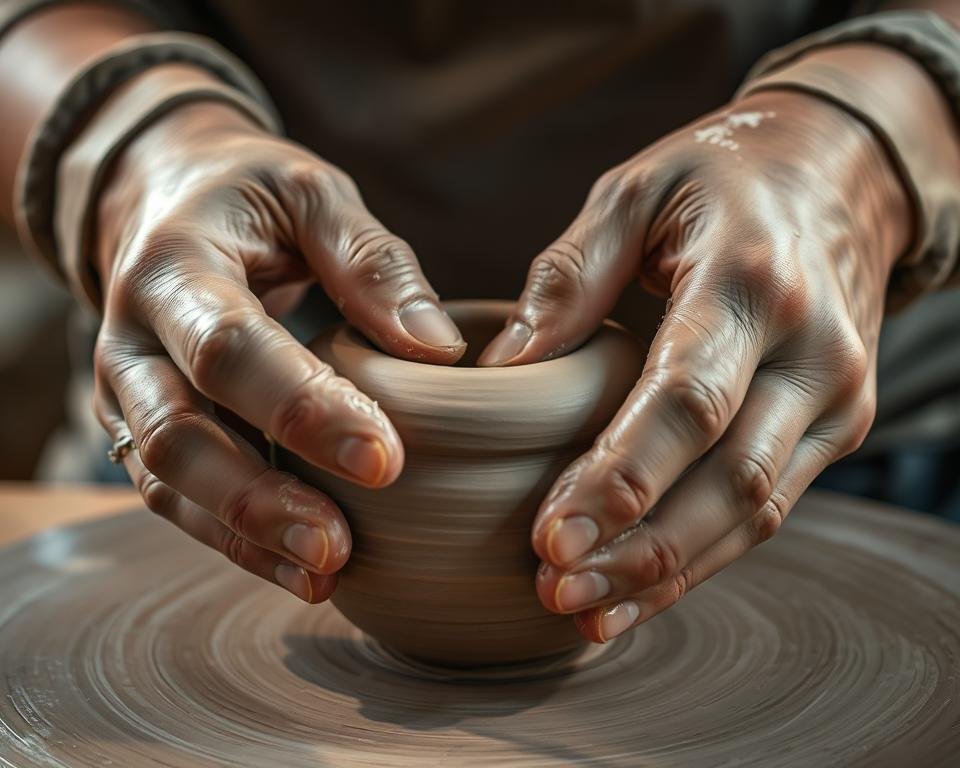
Centering clay is a key step in wheel-throwing. It’s about positioning the clay in the middle of the wheel head and holding it tight. Use gentle, steady pressure to center the clay, making sure it’s balanced and even.
- Begin by wedging your clay to remove air pockets.
- Place the clay on the wheel head and secure it.
- Start the wheel and slowly raise it to a moderate speed.
Trimming and Shaping
After throwing your piece, it’s time to trim and shape. This means refining the edges and surfaces to get the look you want. Use a trimming tool to remove extra clay and shape your piece into balance and symmetry.
- Allow your piece to dry slightly before trimming.
- Use a trimming tool to refine the edges and foot ring.
- Inspect your piece for any imperfections and make adjustments as needed.
Mastering these basics will help you make stunning, useful pieces. Your creativity and skill will shine through.
Surface Decoration Techniques
To take your pottery to the next level, learning surface decoration techniques is key. These techniques add character and personality to your work. They let you play with color, texture, and uniqueness.
Glazing Basics
Glazing is a basic technique that makes your pottery look great and protects it. There are many glazes to choose from, like clear, opaque, and textured. Each type gives a different look.
- Clear Glazes: Give a glossy finish and highlight the clay body or under-glaze colors.
- Opaque Glazes: Cover the clay body fully, with a wide range of colors and finishes.
- Textured Glazes: Make surfaces unique and touchable, adding depth to your pottery.
Under-Glazes and Over-Glazes
Under-glazes and over-glazes help you add detailed designs to your pottery. Under-glazes go on first, for detailed, colored designs. Over-glazes go on top, for more detailed work or metallic touches.
When using under-glazes, think about the glaze color. A dark glaze can hide under-glaze colors, while a clear glaze makes them pop.
Texturing and Painting Techniques
Texturing and painting are great ways to decorate pottery. Texturing changes the clay’s surface to create patterns or designs. You can use tools like stamps, carvings, or slips to do this.
- Stamping: Uses objects to stamp patterns onto the clay.
- Carving: Removes clay to create designs or patterns.
- Slip Application: Applies liquid clay or slip to the pottery surface, which can be colored or textured.
By learning these decoration techniques, you can make your pottery truly unique. Each piece will show off your artistic vision.
Firing Processes
Learning about firing processes is key for pottery lovers. Firing turns raw clay into a strong, useful piece. It needs careful attention to get the right result.
Bisque Firing Explained
Bisque firing is the first step in making pottery. It removes extra moisture from the clay, making it strong and ready for glazing. The temperature for bisque firing is between 1800°F to 1940°F (980°C to 1060°C).
Experts say bisque firing is vital. It prepares the clay for the final glaze.
“Bisque firing does more than harden the clay,” says a pottery expert. “It gets it ready for the glaze that comes next.” This step is key for a stable clay body.
Glaze Firing: What to Expect
Glaze firing is the second step, firing the glazed pottery at 2200°F to 2400°F (1200°C to 1300°C). It melts the glaze, creating a shiny, decorative surface. The result depends on the clay, glaze, and firing temperature.
- Make sure the glaze fits the clay body.
- Watch the firing temperature closely.
- Consider the firing atmosphere for color and texture.
Raku Firing and Its Appeal
Raku firing comes from Japan, known for its crackle pattern and metallic look. It fires the pottery at 1800°F (980°C) and then cools quickly. This creates a unique crackle effect.
Raku firing is loved for its creativity and experimentation. Potters can play with clay, glaze, and firing to get different looks. Knowing the basics and being open to trying new things is essential for success.
Troubleshooting Common Issues
Dealing with cracks and glaze problems is key to bettering your pottery skills. Even pros face issues, but knowing how to fix them can be a game-changer.
Cracks and Weak Spots
Cracks and weak spots can be a bummer, costing you time and effort. Often, it’s because of uneven drying or firing. To avoid this, dry your pieces slowly and evenly. Use plastic or a damp cloth to control the drying.
Air pockets or uneven clay thickness can also cause cracks. Make sure to knead your clay well before starting. Use a needle tool to check for air pockets.
Glaze Issues
Glaze problems can range from uneven application to wrong colors. For a smooth glaze, apply it in thin layers. Let each layer dry before adding the next to avoid drips.
Color issues with glaze? Check the firing temperature and atmosphere. Different conditions can change glaze color. Follow the manufacturer’s firing schedule.
Uneven Shapes and Sizes
Getting consistent shapes and sizes is tough, but doable. Keep your hand steady and speed consistent. Use a rib or loop tool to refine your piece.
For hand-building, use a template or pattern for uniform shapes. Measure your pieces as you build for consistent sizes.

| Issue | Cause | Solution |
|---|---|---|
| Cracks | Uneven drying or firing | Slow, even drying; check for air pockets |
| Glaze unevenness | Thick glaze application | Apply glaze in thin layers |
| Uneven shapes | Inconsistent throwing or building technique | Practice steady technique; use tools for refinement |
Understanding and fixing these common problems can greatly improve your pottery. Whether you’re new or experienced, troubleshooting is key to success.
Tips for Beginners
Starting your pottery journey can be both exciting and a bit scary. The world of pottery might seem overwhelming at first. But, with a few simple tips, you’ll soon be making beautiful pieces that show off your creativity.
Starting Small
One of the first things you’ll learn in Beginner Pottery Classes is to start small. Don’t aim to make a big piece right away. Start with simple projects like pinch pots or small bowls. This will help you learn the basics and build your confidence.
As you get better, you can try more complex projects. You’ll learn new techniques from Pottery Craft Tutorials. Just remember, start small and be patient with your progress.
Embracing Mistakes
Making mistakes is a normal part of learning pottery. Instead of getting upset, see mistakes as chances to learn and grow. Many potters say some of their best pieces came from mistakes or trying new things.
By accepting mistakes, you’ll get better and become more creative. So, don’t be afraid to try new things and take risks. It’s all part of the journey.
Finding Your Style
As you keep practicing and trying new things, you’ll find your own style. This is where the magic happens, and your pieces start to show who you are. To find your style, try different Clay Sculpting Basics and techniques. Don’t be afraid to try new things.
By mixing your skills with your personal touch, you’ll make unique pieces. So, enjoy the journey and have fun exploring pottery!
Resources for Further Learning
As you keep exploring pottery, it’s key to find good resources. Look for classes and workshops to improve your skills. These offer hands-on learning and feedback from experts.
Classes and Workshops
Local classes and workshops are perfect for learning new techniques. Many places like community centers and art schools have classes for all levels. They help you build your confidence.
Online Tutorials
Online tutorials are great for learning at home. Sites like YouTube and Craftsy have lots of videos. They cover everything from basic to advanced pottery skills.
Recommended Reading
If you like reading, there are many good books on pottery. Check out “The Potter’s Bible” and “Pottery: Materials, Techniques, and Projects.” They’re full of useful information.
